Friday, 22 March 2019

Colour Exploration - Page Three

I have to say straight off, I LOVE this page!
It has so much going for it after the disaster of page one!

Page Three - I have absolutely no desire to fit in
bit of fun with this one, & we all know there are no rules 
in art journaling :)

Triadic Scheme
Acrylic Paint;
Rose by Crawford & Black
Turquoise by Reeves
Yellow- Orange - a Derwent Inktense Pencil
Birds, stencil & other stamping
- free with Simply Cards & Papercraft 186.
Words - Tim Holtz

My observations;
Absolutely love it! The mix of the rose & turquoise is so pretty.
The visual triangle is clear also replication
of the same image works with the rule of 3's, 
but with one  image slightly different to stand out.
I like the book text on the birds.
The white spaces calms the chaos of the colour explosion.
I can glimpse some of the lower  layers
through the stencil reduction technique (Dina Wakley)
Must find a way to utilise this better.

I've still a way to go, but already finding
I am making better colour choices & my focal points
are no longer weak. I am taking time to
consider placement & design
instead of leaping straight in.
I love that I can see progress so soon.


Tuesday, 19 March 2019

Happy Birthday

Not only is it my birthday today,
it is also Laura's birthday.
Here is the card I made for her.
She is a Spa Therapist at
Queen Bee Salon, Scunthorpe.

The background is Lil' Inkers swirls cover up die,
the technique is copied from Jennifer Mcguire.
Stamp is Spabella - Stamping Bella
Coloured with Copic Markers
Birthday sentiment stamped on scraps.

Friday, 15 March 2019

Colour Exploration Page Two Dreams Take Flight

Now, page two was created, following lessons learned from page one!
I still used Dylusions paints over gesso, 
but scraped them on to get a totally different look,
while maintaining most of the vibrancy of the colours.
This was half of the other previously ugly page,
that was covered over!

Page Two - Dreams Take Flight
My dreams of exploring colour is happening.
Analogous Colour Scheme
Dylusions paint;
London Blue, Crushed Grape
& Vibrant Turquoise.

Tim Holtz Stencils & words.
Free Feather stamp & die set.


My observations;
I love my colour choice!
I love how the three shades blended to make a fourth.
I do feel this is lacking a visual triangle,
unless you consider the placement of the feathers
& the words to be a very small triangle.
Three feathers gives repetition, as
does the silver thread behind them &
tying them together, along with the silver leaf.
More white space, always a bonus!
Much happier with this.
Added bonus, one ugly page covered over
& made into two new pages,
(even if i think the first one yuck!)

Tuesday, 12 March 2019

Colour Exploration Journal - First Page

As I mentioned on 07 March, I began working on a new art journal. Today I share the first page.
If you recall, I do not like this!! But, I will share good or bad. It's a warts & all series!!

First Page - Hopeful
I am hopeful this exercise will grow my skills
& turn into a very positive series of art.

Complementary Colour Scheme
Blue & Orange - (not my favourite combination)

Paint - Dylusions;
London Blue & Squeezed Orange
Tim Holtz Stencils & Words
Memory Box Butterfly die
Basic Grey Tag.
 
 My observations;
I'm not enthralled!
The page improved once I had highlighted the three dotted
ares of stenciling to form a visual triangle. 
Drawing the border on the word helped it pop.
Dylusions paints don't work over gesso well,
but this was a previous page that I hated & needed to cover.
It was seriously ugly & took too coats!
Had I remembered Dylusions & gesso are not
a good fit, I would have selected a brighter orange
& used another blue from my stash.
But, learning is what this is about & I think
lesson learned.
Not hugely successful, but shared anyway.


Saturday, 9 March 2019

Happy Birthday, Dad

Today is dad's birthday!
I saw several card designs
floating around Pinterest that I liked.
I decided to have a go at this one.
It is not great, structurally it is flimsy.
But, handmade is never perfect!

Here is the front.
Papermania Home to Nest
Slight decoupaged bird box.
The greeting doesn't look straight
in the photo, but it is!!

This view is a sneaky peek at inside.
It was too bulky to close fully.
 

Here is the inside.
A potting bench in the garden shed.
The legs are far too flimsy
& when I finally managed to get the decoupaged window
box stuck to the bench, it won't stand straight either!
Plus, I should have made a taller card,
so you could see out the window better. 


This final image is a close up
showing the top of the bench.
I had planned to stick pots to the legs
but knew it would cause problems.
Plus the paper pack only had vegetable seed
packets to cut out & Dad only grows flowers.
 
But, I am still pleased with it!
It isn't even the original design I planned.
I am saving that one for Father's Day in June.

Thursday, 7 March 2019

New Art Coming Soon.

I have been a little absent from the blog recently, but it is due to the creation of a new art project.
I will be sharing the project soon, I just wanted to get a few started so that I had enough to blog for a few dates. This year I am going back to basics. 

I have made countless journal pages. Some I love, some I like & some.... well, let's just say they were ugly & have never seen the light of day! Even the ones I really love are lacking that little something. Having thought about it a while, I realise that they have poor composition, weak focal points & I could have made better colour choices. Having read both my Dina Wakley books, I knew it was time to re-think my work & take it up a notch!

Armed with a shiny new colour wheel, I aim to make at least one piece of art a week, the emphasis being on my colour choices, composition & focal points. I want to work with my supplies to make better use of them.

I plan to explore all different backgrounds such as Complementary colours, Triadic schemes & to stop covering the entire page in colour. Leave a bit of "white" space to stop the work looking flat. As a scrapbooker & minibook maker, I never had a problem with white space, so I need to re-train myself to use it in my journals.

I plan to explore, get messy & give myself permission to do whatever I like. I will share the good & the bad as I travel this journey & it will be fun. Probably the best fun I have had in ages because I have banned all rules. No need to conform in my creative space!

Some of the pages will be coming soon. The first one is awful! Blue & Orange, not my favourite combination & it sucks, but I am sharing anyway warts & all!

To finish I will leave you with a sympathy card,
I had to make recently for an ex work colleague
Lorraine, who sadly lost her father last month.
He used to keep the outside of the office tidy &
was regularly seen clearing the car park.
Fitting that I should share it now,
as today marks the 45th anniversary 
of losing mum.


Thursday, 28 February 2019

A Birthday card for the 29th!

Today's card is for Eve.
She is one of our family friends
& also a neighbour.
Her birthday is actually 
29th February, but as it isn't
a Leap Year, she has to celebrate today.

This is a simple card.
A piece of pink paper,
a white piece of card embossed with a
brick wall folder from crafter's Companion.
The Window die was free with Tattered Lace Magazine
as were the images of the window to die cut
to add dimension to the card.

Monday, 18 February 2019

Jenny's Birthday Gift

The card in my last post
was for a family friend, who is also 
our neighbour.
Today I am sharing
the gift I hand made for her.

As the picture indicates, 
this is not my original design.
I copied this from a design by 
 She made this in 
Creative Stamping issue 67. 

Mine was made from patterned paper,
Lucy Cromwell designs by Papermania.
The vellum is already patterned
it is very old & was purchased from
Lakeland Limited, The hand cut butterflies
are from another piece in that pack. 
 
 I adore this paper, it is so cheerful.
I included a battery tealight.

Next, I needed a bag for it.
So I turned to YouTube for an idea.
There I found the account of
(Inspiring Inkin') 
I loved what I saw & after a couple
of adaptions to the measurements
I ended up with this little beauty!
  
 A bit of tissue paper added in the
"Hallmark Gold" way & voila!
 

Saturday, 16 February 2019

Another birthday!

I've got them coming from all angles
at the moment!
This was a birthday from 13th February.
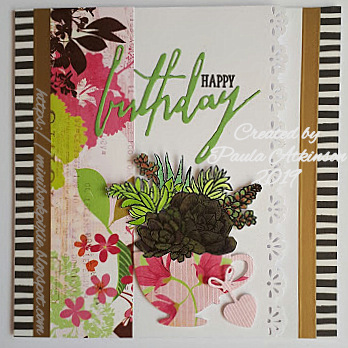
The turn of our friend (& a neighbour)
Jenny.
 This card features thin washi tapes
& some old, gorgeous Basic grey paper.
Succulents stamp, cup & heart tag,
were free with issue 76 of
Simply Cards & Papercrafts

I die cut the edge, one inch from the edge so the inside
edge of washi tape could been seen when closed.

Wednesday, 13 February 2019

Happy Birthday, Hayley

It's my beautician's birthday today.
I made this card for her.
 I think this is one of my most favourites!
I just love the red.
Stamp & sentiment - Stamping Bella
uptown girl Sabrina loves the spa
Coloured with copics.
Cardstock is Stampin' Up Cherry Cobbler
Gorgeous radiant circle die was free 
with Die Cutting Essentials issue 37

Inside I stamped free images from
Creative Stamping Magazine issue 46
to give a monochrome effect,
after all the pops of colour on the front scene.

Monday, 11 February 2019

Birthday Card for Rose

This card is for my neighbour, Rose.
The coloured cardstock is from Gina K Designs,
Spring assortment; Innocent Pink & Lovely Lilac.
Both with centre die cut apertures.
 Stamp set: Stampin' Up
Coloured with Copic markers;
V12/V15/V7/R00 & YG21/Y21 - Flowers
YG23/YG25/G21 - Leaves.
Embossing folder is Crafters Companion
Embossed Roses.

Inside the card,
I added two small sprigs from the same stamp set.
These were coloured using Prismacolor pencils.
 

Friday, 8 February 2019

Two January Birthdays

My craft friends Pauline & Rachel 
have birthday's 3 days apart. 
My mojo was great & so I made two cards,
which appear the same, but each have little differences.
Both are created on watercolour paper.
Both include 49& Market stamping & Dylusions stencil work,
along with texture paste.
Both also include Tim Holtz Wild Flower dies.
Both are coloured using Gelatos in the colours;
Iced Rose / Champagne Gold.
Die cuts were coloured with Prima Confections
watercolour palette Shimmering Lights.
Swirly Circle -  Stampin' Up,
Birthday word - Tim Holtz
Memory box other die cuts.
I even used negative space to stencil through.
Both have Gold Colourshine by Heidi Swapp.
I am pleased with the results.
 

Tuesday, 5 February 2019

Happy Birthday, Lisa

This card was made for my cousin's partner, Lisa.
She appreciates handmade creations. 
The light is very poor on this card,
more blue than white!
I used the Tim Holtz Flower Garden stamp set.
Coloured them with copic markers & hand cut out.
The border stamps are by Aladine.
I bought them from a craft shop in Limogés in 2012.
I stamped them in Altenew Ultraviolet Ink -
part of the new Enchanted Garden Collection.
They were stamped & cut out to add dimension.
The large word Birthday is WPlus9 & the
tiny wishes was from a free magazine set.


Sunday, 3 February 2019

New Year, New Posts


I have been absent a while since Christmas.
I have begun a course to enable me to get a new job
& it has taken precedence over everything else.
First post is my brother in law Martin's birthday.
He was born on New Year's day & so cards
have to be made at Christmas.

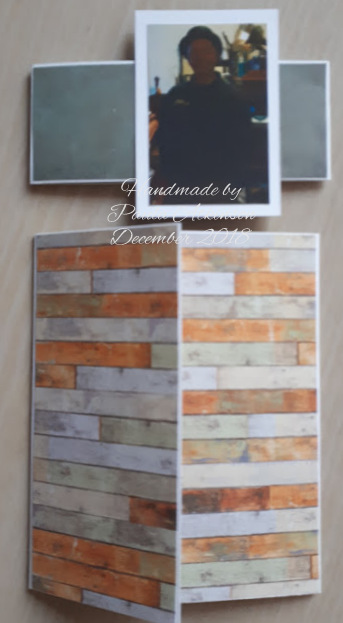
Below are photos of the double gatefold
card complete with belly band.
I made one side shorter than the other
to cut down on bulk & the centre,
once opened, lifts up to reveal
a place to write my message.
 

Design showing belly band removed.
 The inside of the card, all photos
(some blurred) are of Martin.
 This image shows how the card opens.
 I used Mr Smiths Workshop paper by Papermania.
I die cut polaroid frames for some of the images. 
I can't remember the die manufacturer off hand.
But it came in a set with a deer & phrase love this.
Something to do with Maggie Holmes I believe.

Tuesday, 25 December 2018

Anne's Christmas Day Birthday

I have tried to make this card
as non Christmas as possible
but I fell in love with these
& knew I had to create something fun.

I came up with a Hot Chocolate
themed reveal wheel card.
I loved the blue cup (copics)
& the earth coloured foamie.
The heat embossing isn't perfect!
I was using words from several stamp sets
to make up the background.
The pictures show you what is revealed each
time the wheel is turned.


This ink blend I created has got to be
one of my favourites!!
Distress Oxide - Antique Linen,
Brushed Corduroy, with
Ground Espresso edges.
Water flicks add to the milky
coffee, chocolate colour.
Stamp sets used;
Newtons Nook / Darcies
My Favourite Things.
Plus a free magazine set.

Sunday, 23 December 2018

Day 9 - The final Christmas Card

At the top of our cul-de-sac live
a young couple who decorate their tree
each year with so many lights.
It makes Christmas for us when we see it.
Dad, Bill & Jenny & I love it so much.
So this year, we wanted to send a card to them,
to let them know that it is much apperciated.
After all, it is a pretty bitterly cold job!


So this is the card I created for
Gavin & Rebecca.
 
I made the card base from 230gsm card to ensure
it would stand up well with the frame.
I added a distressed square of paper (Silent Night - Trimcraft)
Marked out the centre of the frame & stencilled
Falling Stars & Script Christmas words (Tim Holtz)
I mixed the texture paste with a little Irridescent medium
& PaperArtsy Fresco Paint - Glacier Ice.
I chose that blue as it matched the paper perfectly.
(Not that you can really see now!)
While it dried, I die cut 4 frames using Presscut squares
& stacked them together.
I then die cut a fifth frame, covered it with some paper
& then applied gesso with a stippled brush to recreate
the look of snow.
I made the tree from corrugated cardboard.
Covered it in clear crackle paste (Prima Finnabair)
& added clear microbeads.
Once dry I brushed over PaperArtsy Fresco
in Snowflake & when that was dry I then applied
PaperArtsy Fresco White Fire.
This was also used to distress the paper square.
I adore that colour.
Shaker materials - Glitter fake snow, silver/white stars.
Acetate added to single paper frame and placed on top of
the layered frame. Snowflakes to finish.
Tiny snowflake - Sara Davies
other two are Concord & 9th 
This is a 3D Christmas tree die bit
the top branches looked like snowflakes to me.
 

Saturday, 22 December 2018

Christmas Cards - day 8


Today I am sharing cards that were
made for friends, old colleagues
and also an old employer.


This first batch are a mix of designs.
Three are ink blended snowy backgrounds.
Two with Trucks & trees,
One deer and one Yappy Woofmass.
Then we have two beds (Joanne Sheen Stocking Die)
One of the trucks has a mountain style snowy scene
created using the free embossing folder that came with 
Simply Cards & Papercraft issue 181.
The other truck features a scenic
stamp from Creative Stamping issue 58.
This is not a Christmas set of stamps but it works well.


This next batch are fun cards made using
Mama Elephant Holiday Bitties.
They were perfectly sized to place
into the negative space left after die cutting
 the baubles from the ink blended panels.
The panels were die cut from a scalloped 
rectangle (Presscut) then ink blended
stuck to fun foam & die cut the bauble twice
(Simply Cards & Papercraft free die)
 
I did not get co-ordinating dies
so after copic colouring the tiny images
I cut them all out and paired them up.
The heat embossing didn't work well 
so the Mama Elephant tiny sentiment
strips were place over the worst parts.
 

Friday, 21 December 2018

Christmas Cards - day 7

Almost at the end now,
thanks for sticking along this far.
 
This first card is for the office.
This is the very first Christmas I won't be
sharing the fun with them, so sent this card.
 
Tim Holtz mixed media die - holly
Gold mirror card & green backing card.
Free magazine cover, Merry Christmas die Sara Davies 
Vellum for the shadow.
 

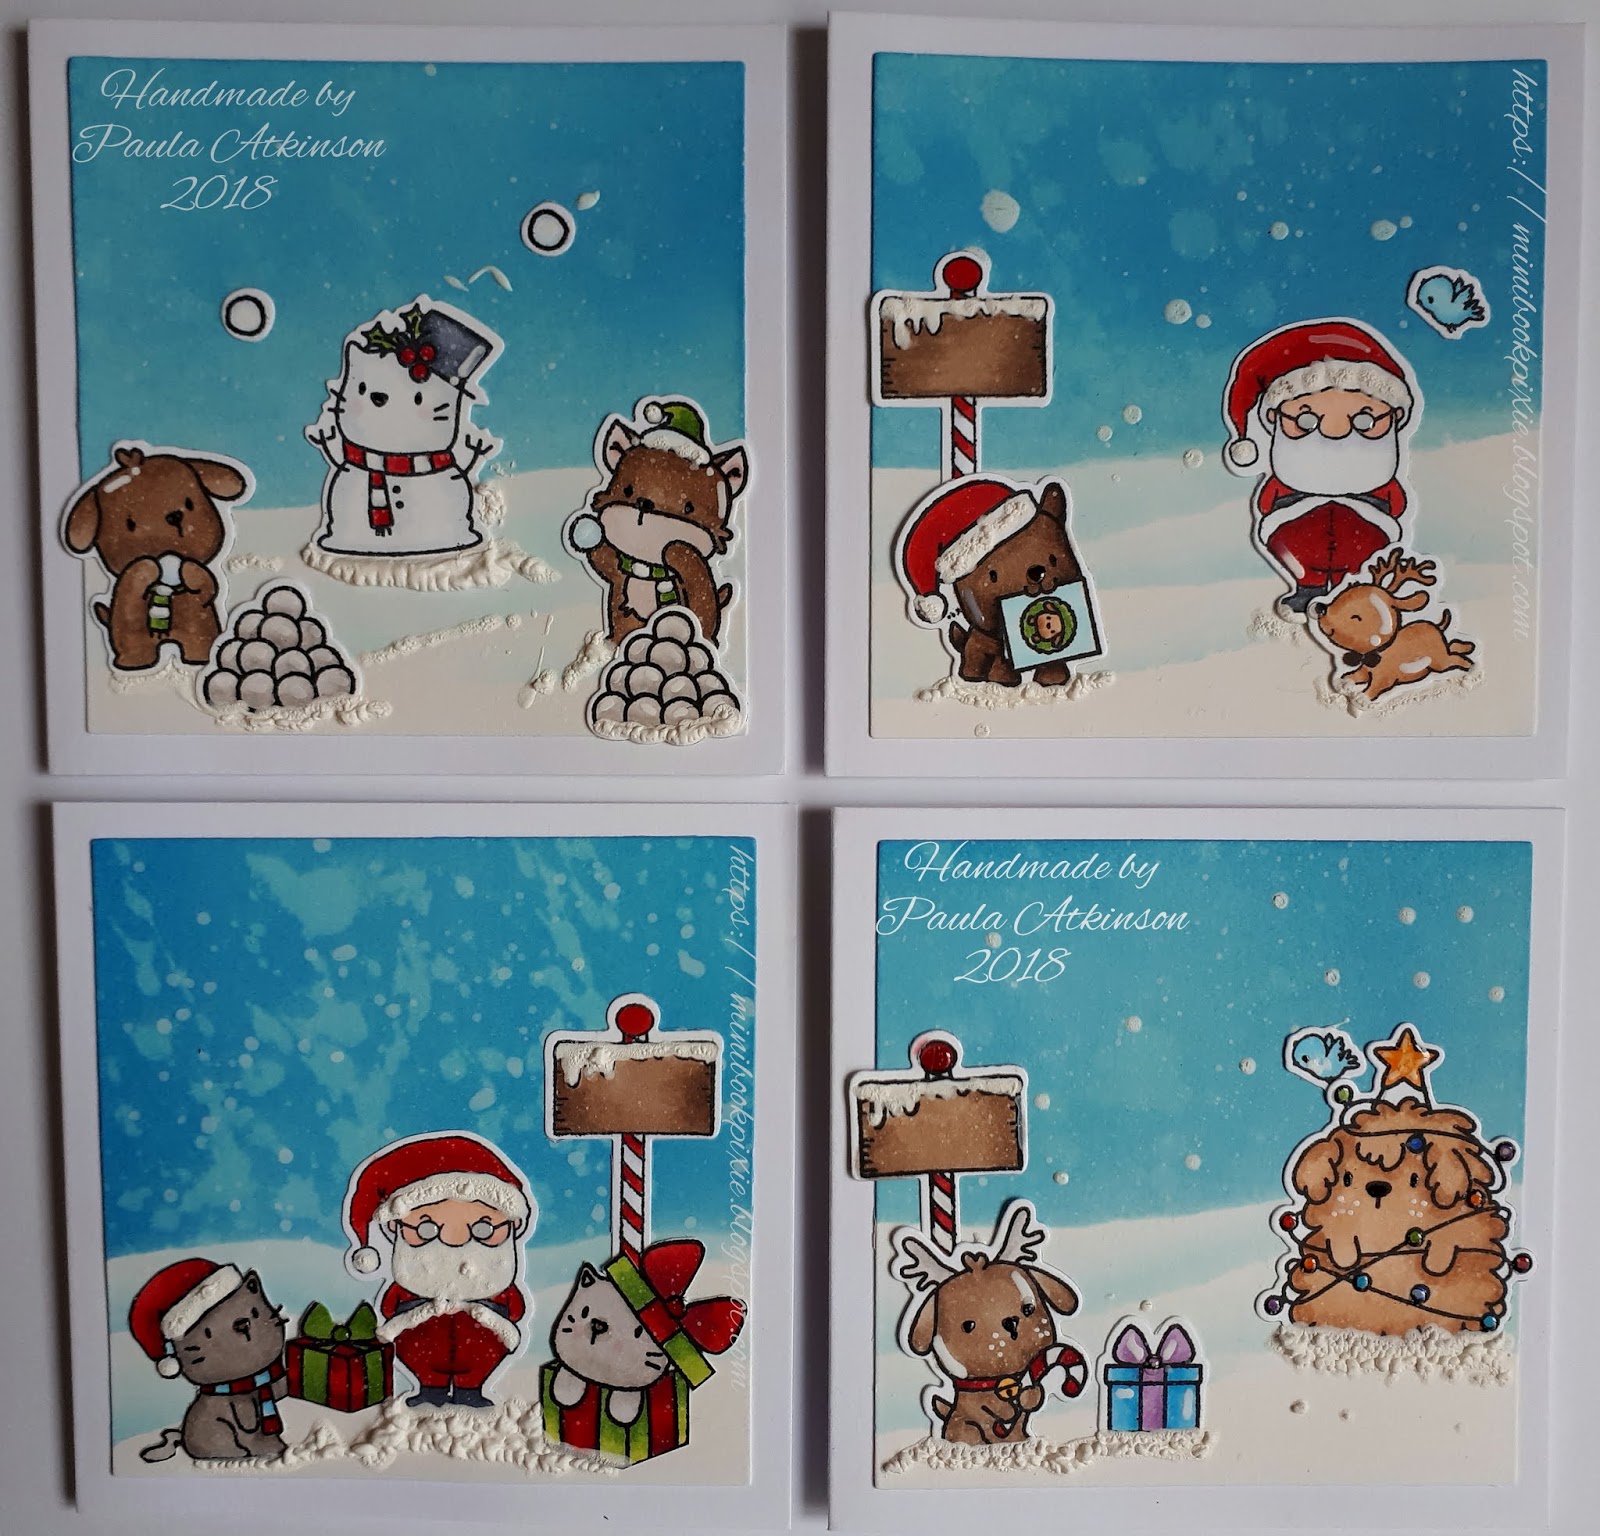
Below are 4 Mama Elephant snowy scenes, 
using sets - Yappy Woofmas / Trim the Tree
Ink blended with Distress Oxides;
Tumbled Glass/ Salty Ocean
torn paper used to create the illusion of snow banks
The top two are for Kim & Lorraine,
two of my ex colleagues.
 The bottom two are for friends.
Images all copic coloured and die cut.
Snow marker added for dimension.
These are 4x4ins (soo cute)

Thursday, 20 December 2018

Christmas Cards - day 6

Donna & Rod.
Rod was an ex train buddy and  I get on 
very well with his wife, Donna.
So here is another Pop Up Box.
I think you can tell that this year I 
truly love my interactive cards. 
 

Mama Elephant Yappy Woofmas,
with some bits from Santa sleigh too. 


I adore these snow balling pups, they are sooo cute!
Again, copic coloured. (us newbies need to practise)
 

Angled so you can see the decorated panels.
Seriously, I made this months ago & it
has been sat with yesterday's featured card, 
on my craft table, making me smile every day.
 

 I made the fake door, complete with tiny panels,
just so I could use the puppy wreath.
Had to put the odd snowball on acetate
so they "fly" in the air.